
Setting up your company
Before your team starts work in Excelia CRM, the company admin prepares the company: its details and logo, the projects and units you sell, the people who will use the CRM, who approves what, and where your leads come from. To make this easy, the dashboard shows a short setup guide with the first seven steps. Only company admins (people allowed to change the company settings) see the guide.
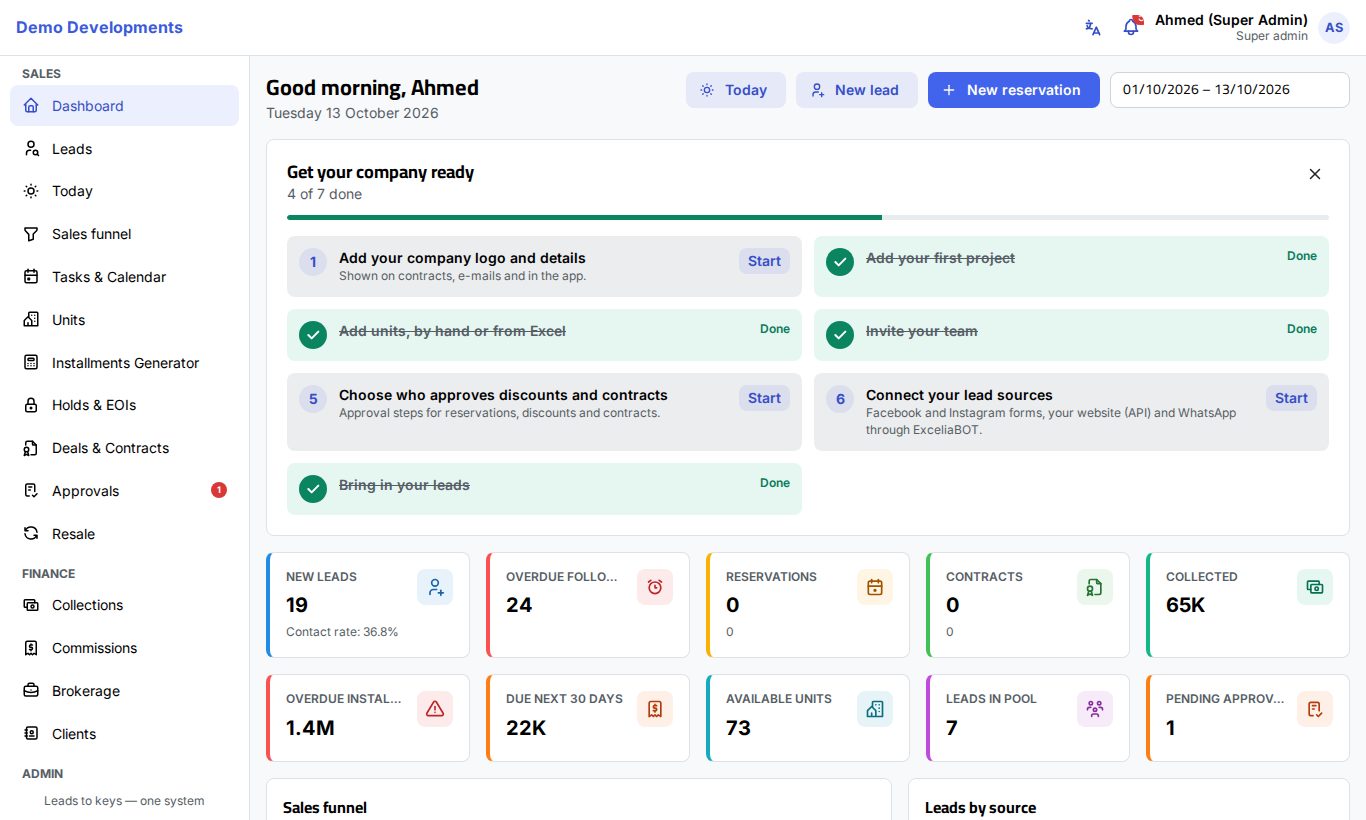
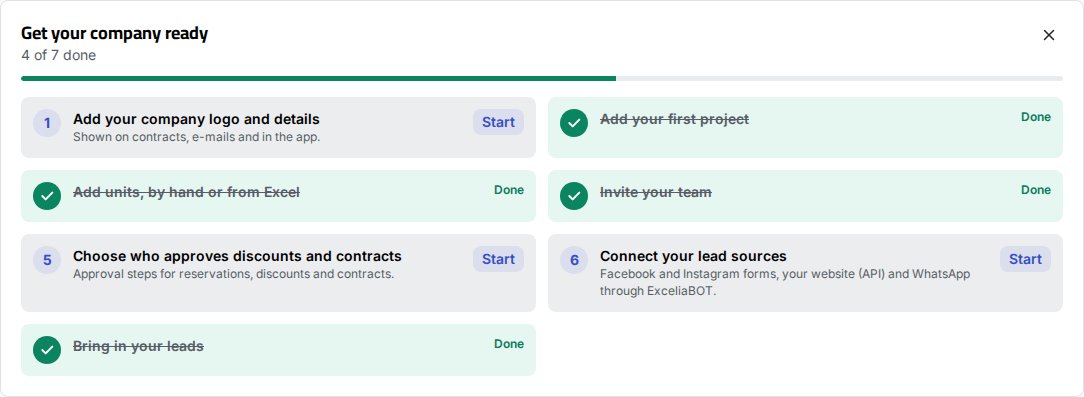
The setup guide on the dashboard
The guide is a card at the top of the Dashboard called Get your company ready. Under the title it shows how far you are (for example "3 of 7 done") with a progress bar.
Each step has a number, a short explanation and a Start button that opens the right page. A finished step gets a tick, its name is crossed out and it says Done.
You never tick a step yourself: the CRM checks your data and ticks it as soon as the work is there.
| Step | It is ticked when… | Start opens |
|---|---|---|
| 1. Add your company logo and details | a company logo is uploaded | Settings → Company & rules |
| 2. Add your first project | the company has at least one project | Inventory (the projects list) |
| 3. Add units, by hand or from Excel | there is at least one unit | Units |
| 4. Invite your team | there is more than one active user | Settings → Users |
| 5. Choose who approves discounts and contracts | at least one approval step is set up | Settings → Approval workflows |
| 6. Connect your lead sources | Meta Lead Ads or ExceliaBOT is switched on, or there is an active API key | Settings → Integrations |
| 7. Bring in your leads | there is at least one lead | Leads |
To work through a step:
- Click Start next to the step.
- Do the work on the page that opens (the pages below explain each one).
- Go back to the Dashboard. The step is now ticked.
Hiding the guide
The guide disappears by itself once all seven steps are done. To hide it earlier, click the × at the top corner of the card (Hide the guide). It is hidden on this browser only, so it can still appear when you sign in on another computer or phone.
Recommended order
The guide covers the essentials. For a complete setup, we recommend this order:
- Company details, logo, time zone and sign-in security. See Company settings.
- Your own stage names, lost reasons and fields. Do this before importing, so your own fields can be filled from Excel. See Customisation.
- Projects and units. Add them by hand (Projects and units) or import units from Excel.
- Roles, teams and people. Make your own roles if the built-in ones do not fit, create your teams and invite everyone. See Users and roles and Teams and targets.
- Lead distribution. Decide which agents receive which leads. See Lead distribution.
- Approvals. Choose who approves reservations, discounts and contracts. See Approvals.
- Contract templates. Check the default template and add your own. See Contract templates.
- Lead sources. Connect Facebook and Instagram forms, ExceliaBOT (WhatsApp), your website and tools like Make or Zapier. See Integrations and API.
- E-mail. Send yourself a test e-mail. See E-mail.
- Your existing data. Import your current leads, clients and contracts with their installments and payments. See Importing from Excel.
- Privacy. Check how long data is kept. See Privacy and data protection.
Good to know
- Step 1 is ticked only when a logo is uploaded, even if you already filled in the company name and phone.
- Invited people receive an e-mail to choose their own password. The invitation link works for 72 hours.
- Import the units before you import existing contracts: each contract must point to a unit that is already in the CRM.
- Everything you change in the settings is written to the audit log.
Tip
Invite one or two colleagues first and try the whole path with them (a lead, a hold, a reservation, an approval, a contract) before you invite the whole team.